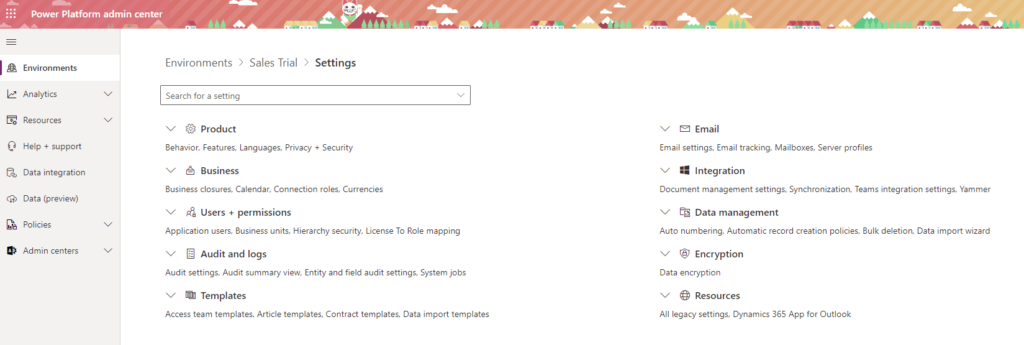
In this article, we will take a look at the settings available in the Power Platform Admin Center. Check out details below on what you can do in the admin center! (However, many features listed in the admin center WILL launch the classic / legacy settings. Each are noted below.)
How to Access Settings from the Power Platform Admin Center
1. Navigate to the Power Platform Admin Center: https://admin.powerplatform.microsoft.com/

2. Select the ellipses icon next to the environment where you want to update settings. Select Settings from the list of options:

3. This brings you to the Settings page for this environment.

Product Settings
Under the Product header, you can update the following:
- Behavior: Turn auto save on or off, set formatting options and more.
- Features: Turn the AI Builder on or off, control embedded content (like Power BI and Bing maps), manage search settings and set up custom help. Also, this is where you can turn on record ownership across business units (which is new, but in preview right now).
- Languages: Add/remove languages in this environment. Opens in legacy settings.
- Privacy & Security: There are only a few things in here – you can turn on a privacy statement link, manage error report sends, block attachment file settings and set inactivity & custom session timeouts.

Business Settings
Under the Business header, you can update the following. Selecting any of these areas will open a new tab, taking you to the legacy settings page.
- Business closures: set up individual dates when your organization is closed. Useful if you plan to leverage calendars, queues and work hours.
- Calendar: This one surprised me – I expected it to open the Service Calendar based on the name, but it actually took me to fiscal year settings. So, use this area of the Power Platform Admin Center to update your fiscal year dates and display settings.
- Connection roles: Set up custom rules for connections in this environment. You can also manage existing ones.
- Currencies: Set up your environment for multicurrency here. (Note: there are better ways to manage multiple currencies, namely Power Automate. Using this currency area is a manual update – so you better be on top of your currency exchange rates! 💵 )
- Queues: Manage your queues – set up new ones, edit existing.
- Regional formatting: WOW did the naming of this throw me. This is the most useful part of the Business Settings in the Power Platform Admin Center! If you’re coming from Dynamics 365, this is “Business Management” and takes you to everything we’ve talked about so far in this section. It also includes goal metrics, rollup queries, sales territories, automatic record creation and update rules and more.
“Regional formatting” is the section you will be using the most. It has all of the above settings and more – but opens in the legacy settings UI.

Users + Permissions Settings
Under the Users + permissions header, you can update the following:
- Application users: Manage the non-interactive users in this environment so your apps can access Dataverse data.
- Business units: The base of your security model, this area opens in the legacy settings view to add and manage your business units.
- Hierarchy security: configure your hierarchy security (manager or custom position hierarchy) and select tables to exclude from it. This area opens in the legacy settings view.
- License To Role mapping: If defined in your environment, these roles are assigned automatically to users when added to Dataverse, based on the license they are assigned. Learn more about automatic role assignment here.
- Mobile configuration: In this section, you can create offline profiles that will control the data downloaded to a user’s device during “offline access.” Learn more about it here.
- Positions: I wasn’t quite sure what this was, so off to docs.microsoft.com, where I learned that it’s an area of D365 used in the Human Resources App. Learn more about them here. This area opens in the legacy settings.
- Security roles: A powerful part of your security model, these control how much access a user group has to a particular table or area of the app.
- Teams: Set up and manage teams within your app, used for record access.
- Users: A list of your users who are licensed for this environment.

Audits and Logs Settings
Under the Audit and logs header, you can update the following:
- Audit settings: start or stop auditing for Dataverse data, and manage logging status (like log access, read logs and how long to retain logs for).
- Audit summary view: A summary view list of change history on audited tables and/or columns. This area opens in the legacy settings.
- Entity and field audit settings: Using the deprecated terms “entity” and “field,” this area clearly opens in the classic settings view. In fact, it takes you to the default solution file (legacy mode) where you can mange table and column audit settings.
- System jobs: A list of every system job firing off in your environment with status. This area opens in the legacy settings.

Templates
Under the Templates header, you can update the following. Note, every area in this section will open in the legacy settings view.
- Access team templates: Manage your access team templates to control access rights for automatically created teams. Learn more about these settings here.
- Article templates: Traditionally used in a Knowledge Base, you can create and edit article templates.
- Contract templates: You’d use these in conjunction with entitlements (which used to be called contracts) and customer service solutions.
- Data import templates: Make your data imports simpler by using templates designed for a specific table. Select the table and download the template here.
- Document templates: Create and manage any document templates in your environment.
- Email signatures: Create and update any email signatures.
- Email templates: Create and manage email templates for your organization.

Email settings
Under the Email settings header, you can update the following:
- Email settings: This is the place to manage most of your email settings, like synchronization methods, security and permissions for processing emails, notifications to be sent, setting maximum file size for attachments and setting email form options.
- Email tracking: Set tracking token preferences (update prefix and digits), turn tracking token use on/off, turn on/off folder-level tracking and tracking emails between people as 2 activities on/off.
- Mailboxes: A list of mailboxes with details on settings, synchronization method, server profile and more. Opens in legacy settings.
- Server profiles: Add or manage server profiles to be used in the environment.

Integration settings
Under the Integration header, you can update the following. Note, every area in this section will open in the legacy settings view.
- Document management settings: Turn the SharePoint integration on/off, enable OneDrive and update SharePoint settings (tables it’s turned on for, SharePoint site URL).
- Synchronization: This takes you to the Business Management settings – which may be a bug, since we see this in the Business section.
- Teams integration settings: Turn the link of D365 records to MS Teams channels on/off and turn MS Teams chat inside D365 (preview mode) on/off.
- Yammer: Turn the Yammer integration on/off.

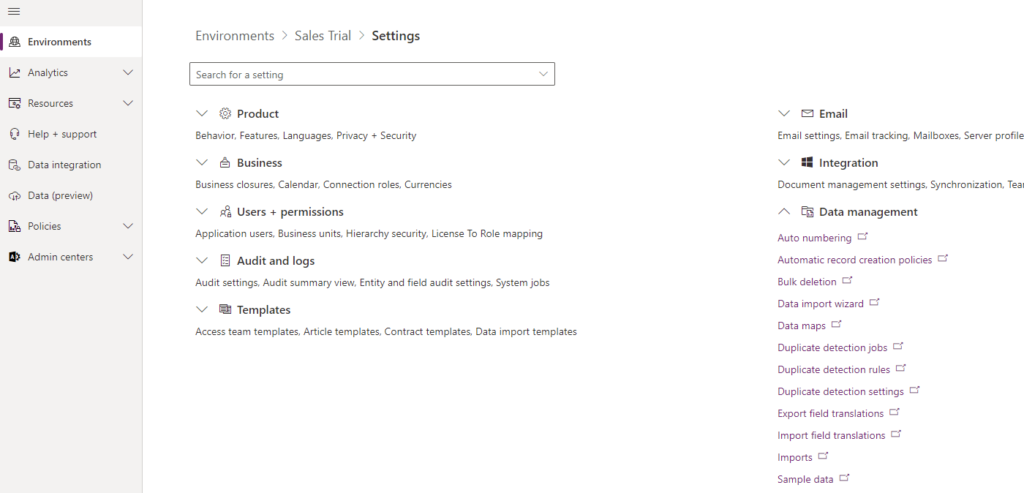
Data Management Settings
Under the Data management header, you can update the following. Note, every area in this section will open in the legacy settings view.
- Auto numbering: Set up and configure auto numbering settings.
- Automatic record creation policies: Configure rules to create records automatically. Used in conjunction with Queues.
- Bulk deletion: View any bulk delete jobs with details on status, deleted records and any failures.
- Data import wizard: I expected this to take me to the wizard that guides you through the process of updating data to a specific table. However, it took me to a list of import files with details on successful imports, failed rows and errors.
- Data maps: Add and manage any data maps to be used during data import via the wizard.
- Duplicate detection jobs: A list of all duplicate detection system jobs that have run in your environment.
- Duplicate detection rules: Set up duplicate detection rules to help ensure data integrity. Users will be prompted with a pop up warning message if they try to add a new record that meets one of these criteria. Can be manually overridden by users.
- Duplicate detection settings: Turn duplicate detection on/off. Manage duplicate detection to be when a record is created/updated, during data import and/or when D365 for Outlook goes from offline to online.
- Export field translations: This is kind of weird to me. It’s just a screen where you push “OK” to export field translations. If you’re not familiar with field translations, you’d use this to rename fields – you can learn more here, and also check out the XrmToolBox tool Easy Translator.
- Import field translations: Related to the above, this is an list of field translation import jobs that have run. You can also import field translation files here.
- Imports: Upload files to import into your system here. Also, see a list of all files imported with successes, errors, failures and more.
- Sample data: Add or remove sample data from your environment.

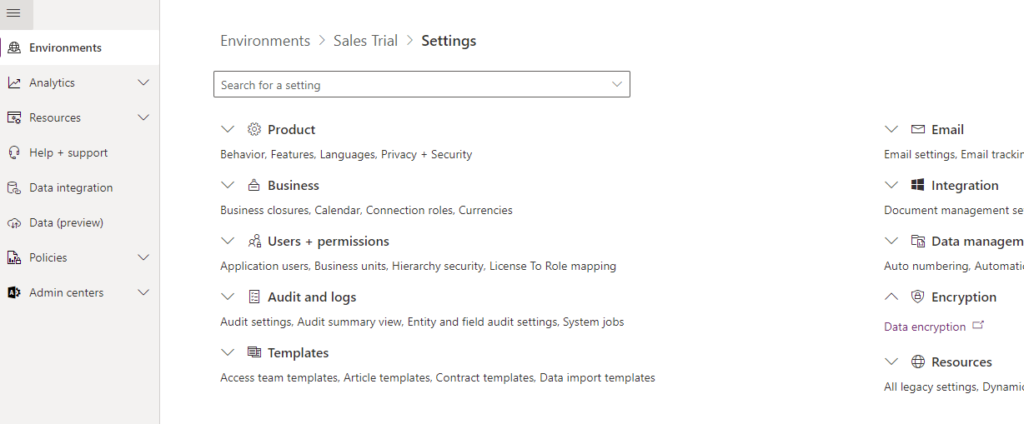
Encryption Settings
There is one area under the Encryption section:
- Data encryption: View current encryption key or change the encryption key for this environment.

Resources
You can access two areas under the Resources header. Both open legacy settings areas.
- All legacy settings: This is the third time we see something in the Power Platform Admin Center that takes us to the legacy “Business Management” page. But, we can access every legacy setting form this link.
- Dynamics 365 App for Outlook: Set up, configure and deploy the Dynamics 365 App for Outlook.

So… How does the Power Platform Admin Center stack up against the Legacy Settings UI?

“Anything you can do, I can do better!” ~Power Platform Admin Center to Legacy Settings
Video Version
If you’re more of a visual learner and prefer YouTube over reading long blogs, I also recorded a video walking through all of these features:
