
Sometimes, the out-of-the-box core entities in Dynamics 365 don’t work for your industry or company. “Accounts” might not always be the appropriate word, but everything else about the function of this entity works perfectly. In this scenario, rather than simply renaming the entity, you can update an entity name (and its entity assets) using translations.
Can I just update an entity’s Display Name?
If you simply update Display Name for an entity within the Configuration area of Dynamics 365, it will not rename all entity assets. If you’ve renamed Accounts to be Households, your system views still say All Active Accounts and not All Active Households. Advanced Find and system view columns will still display “Account” even if you’ve updated display names. Fix this problem by updating the translation file!
Here’s how to update it using Translations
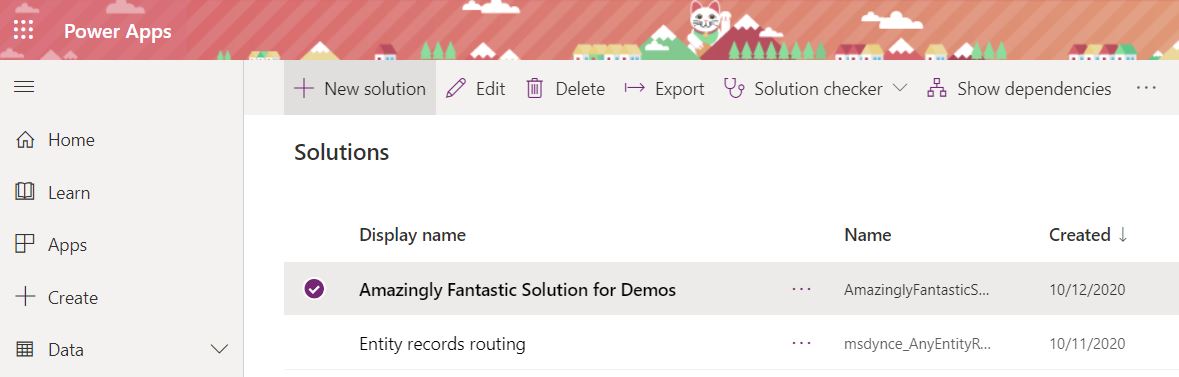
- Go to PowerApps and highlight a solution file.
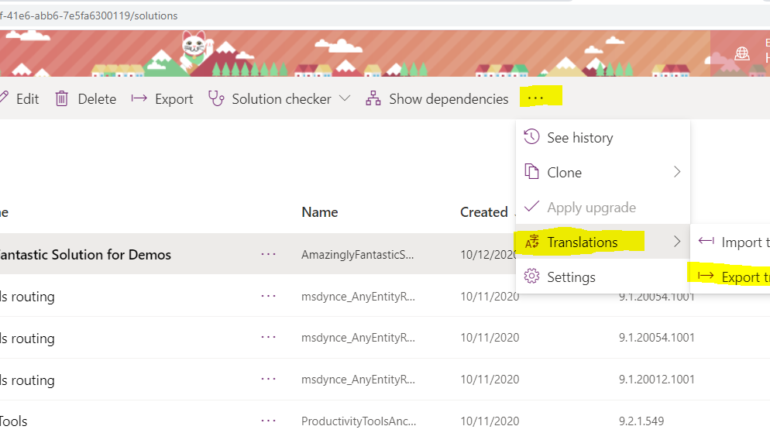
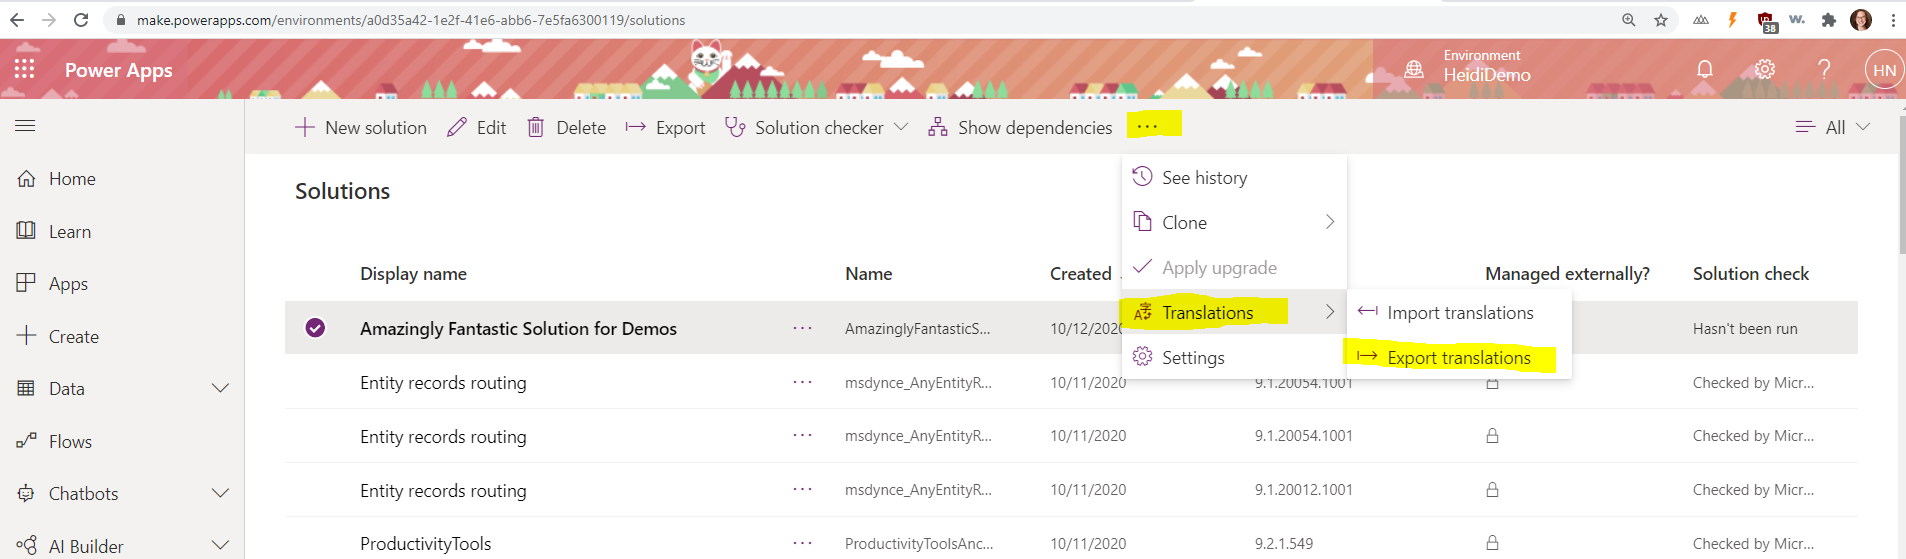
- Click the ellipses at the top, then select Translations. Choose Export translations.
This step may take a few minutes to complete.
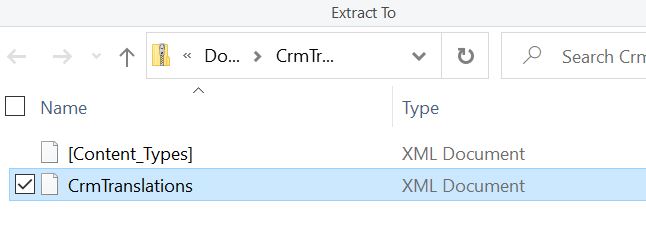
- A .zip file will download with XML files. Open the “CrmTranslations” file using Excel.
- Go to the sheet labeled Localized Labels.
Column D in this file will include the list of labels. Update any that should be updated (hint: using Find & Replace and Excel can be a big time saver!). When you’re finished adding translations, save and zip up the package.
- Back in Power Apps in your solution file, repeat steps 1 & 2. You’ll select Import Translations
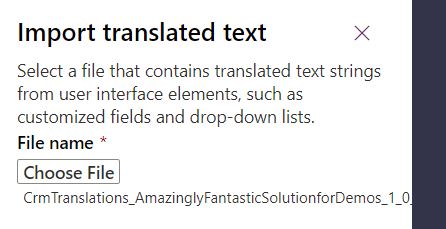
- Click the Import button at the bottom to upload your changes.
This step may take a few minutes to process.
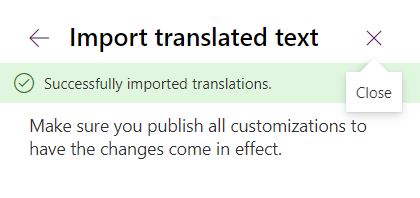
- Publish your solution file, then celebrate!
You can also use the XRM Toolbox to update translations (and/or rename entities)!
Check out the Easy Translator tool